A few years ago, I came across this pin:
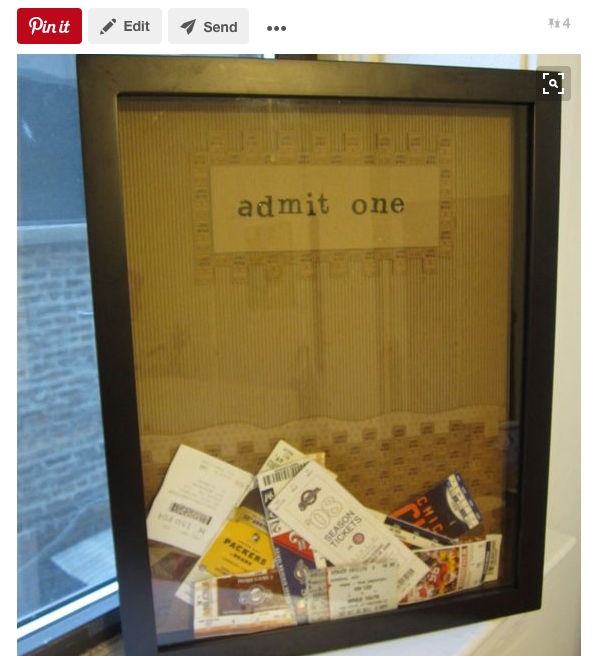
Super cute, right? I love the idea of keeping ticket stubs for posterity, but there are only so many cool scrapbook page layouts you can do with them… I immediately grabbed this pin and followed the link to the retailer who showcased this idea. I’m sure they are lovely products, but they ran from $95-210: a bit outside of the budget for our house.
I kept an eye out for a more affordable alternative, but hadn’t found one. After stumbling across this pin again today, I did another search and found that top-opening shadowbox frames were now a thing. A thing I could buy at a big box craft store. Whenever I wanted. (I’m sure they aren’t the same quality, but they’ll get the job done!)
I had been super restless all afternoon, due to some frustrating phone calls and dead ends. I was trying to clean up my office and found my fat stack of ticket stubs, waiting to be ‘framed’. That was it. Today was the day. I grabbed up my purse & got in the car. An hour later, I had several DIY projects’ worth of materials and I was home, on a mission.
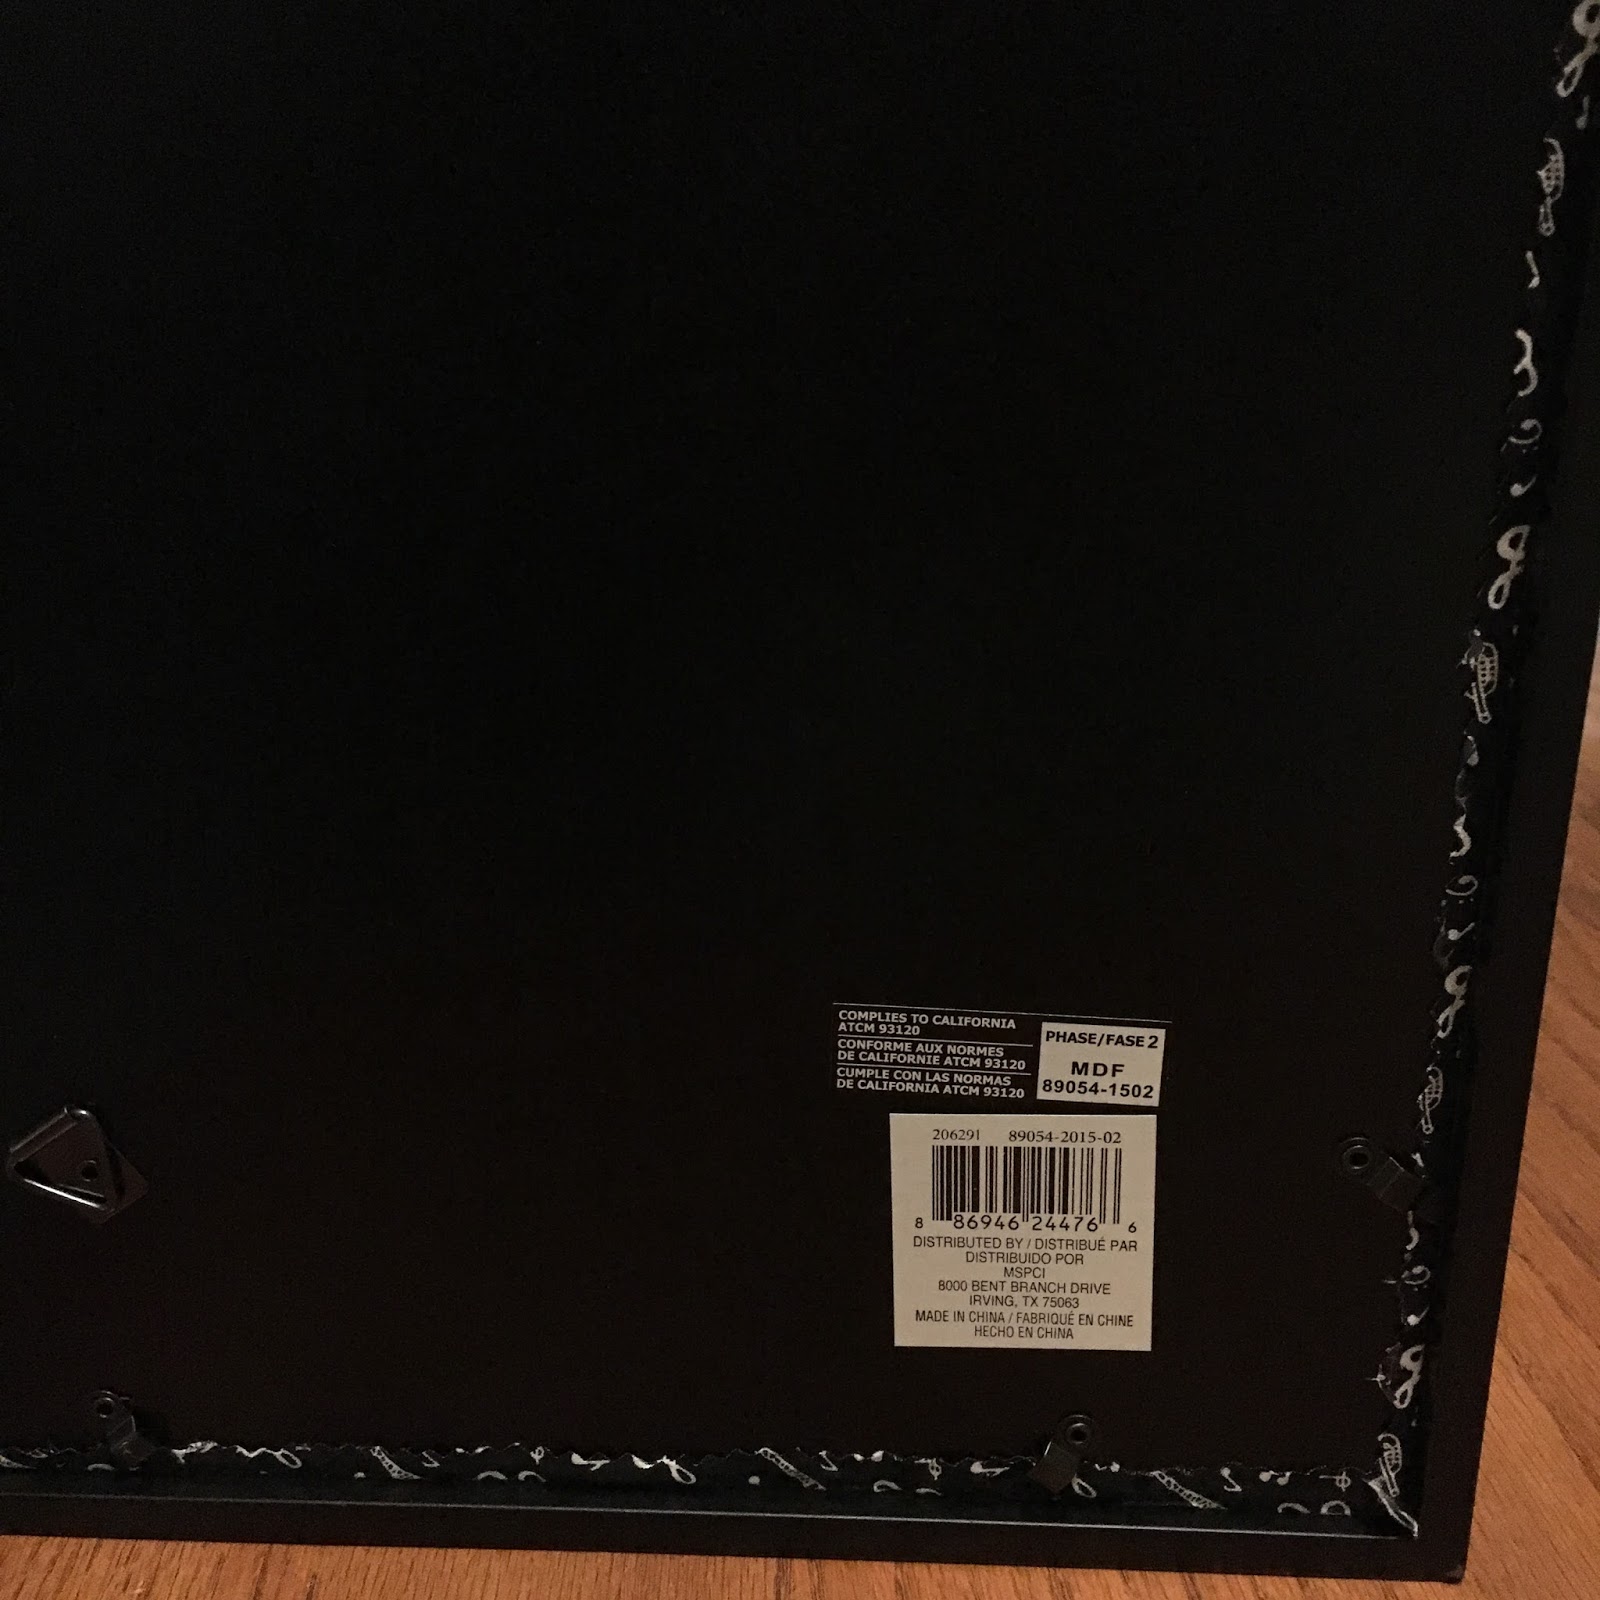
The review I had found online had warned me that some frames didn’t have a nice black background on them, so I was prepared to do a little beautifying with the frame when I got home. Sure enough, the frame included a removable sheet of paper with wine corks pictured and when you took that out, all you were left with was the wrong side of the cardboard. I grabbed a piece of fabric from my fabric stash and a glue gun.
I cut out a rectangle with my pinking shears, pressed out the wrinkles and affixed the fabric to the back of the frame with a bead of hot glue onto the wrong side of the cardboard. Keeping everything smooth with the hubs’ help, we secured all four edges on the wrong side of the frame backing. I pinked the edges of the fabric again, trying to keep an even margin along all the edges. Tightly wrapping the remaining fabric to the back of the frame (the side with the hangers), I glued the edges in place with another line of hot glue. It took a little effort to get the back of the frame back in place, since the fabric made it thicker, but since I used a top-opening shadowbox, the back of the frame won’t need to ever come out again.
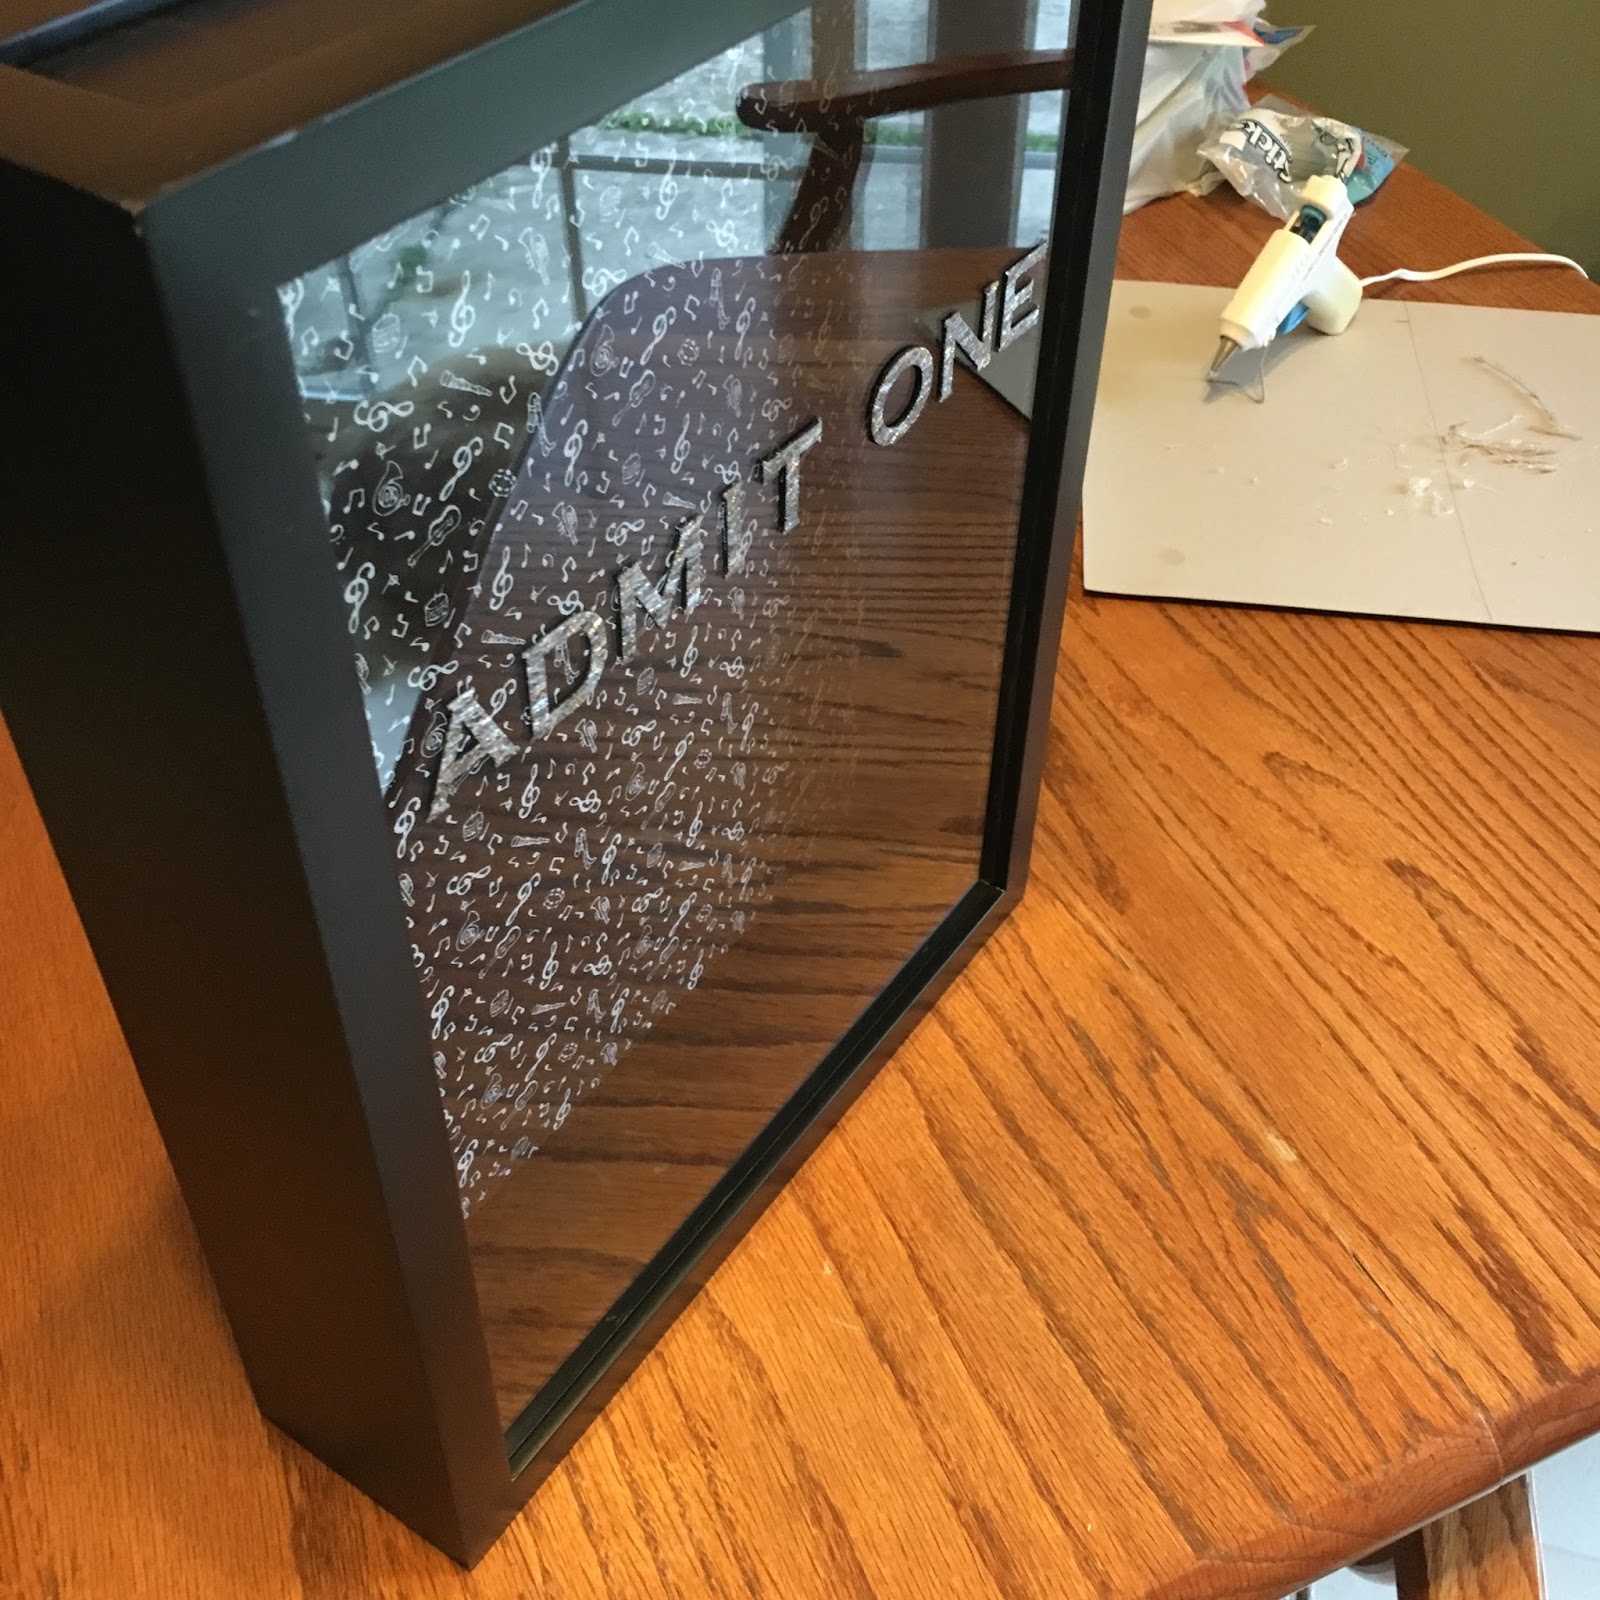
Using the adhesive letters I picked up, we measured the frame and decided to set the letters just above the 2/3 mark on the glass. I liked the ‘admit one’ idea, so I ran with that. We cleaned the glass to remove any dust. The hubs helped with centering the text and applying the letters.
Viola.

Less than $40. Done and done.
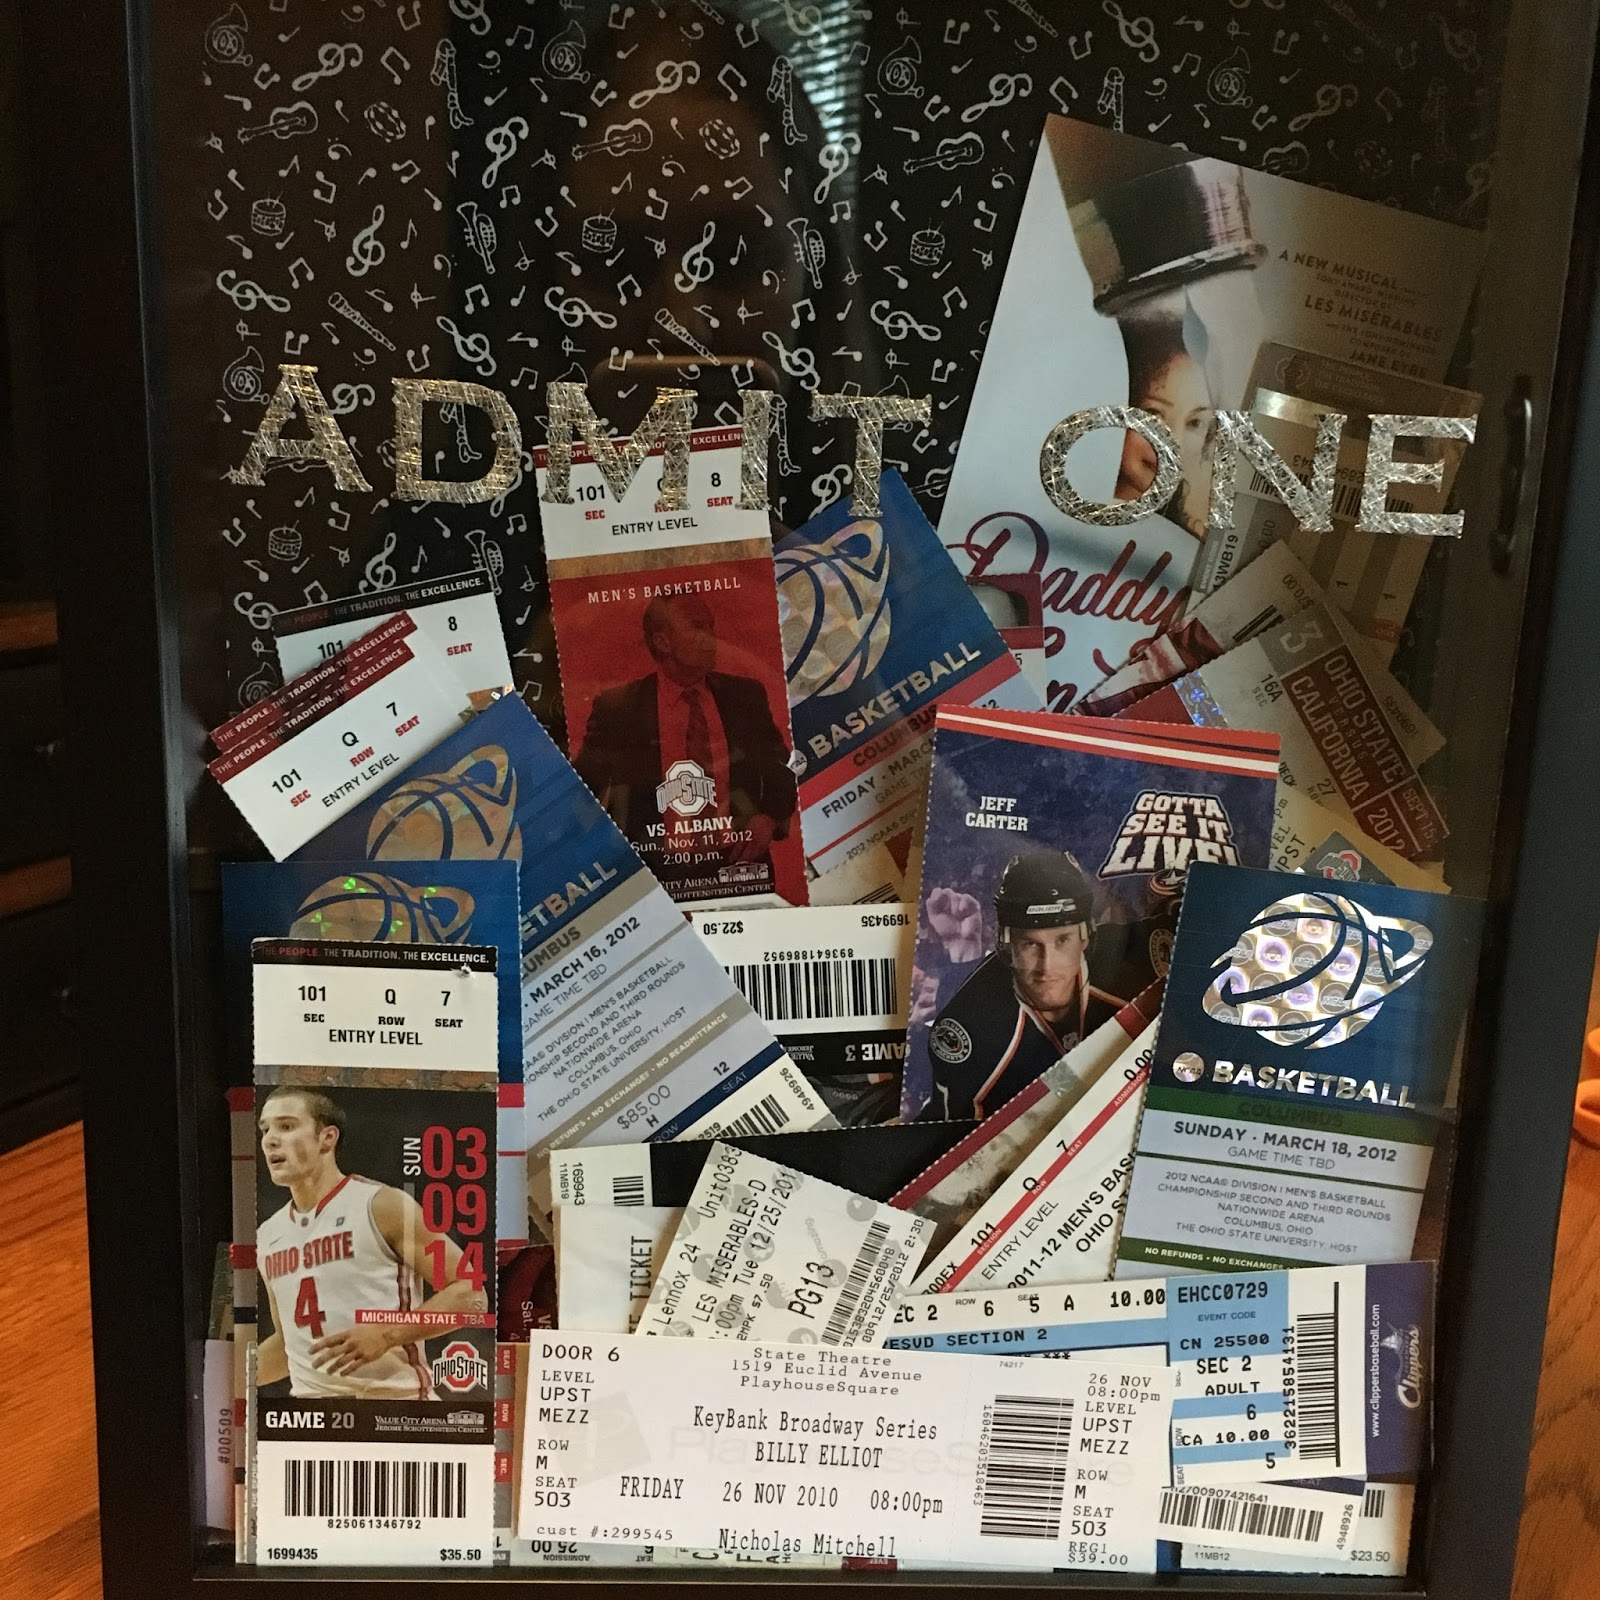
Notice the place of prominence for my favorite point guard ever. #4!!
And in its new home!
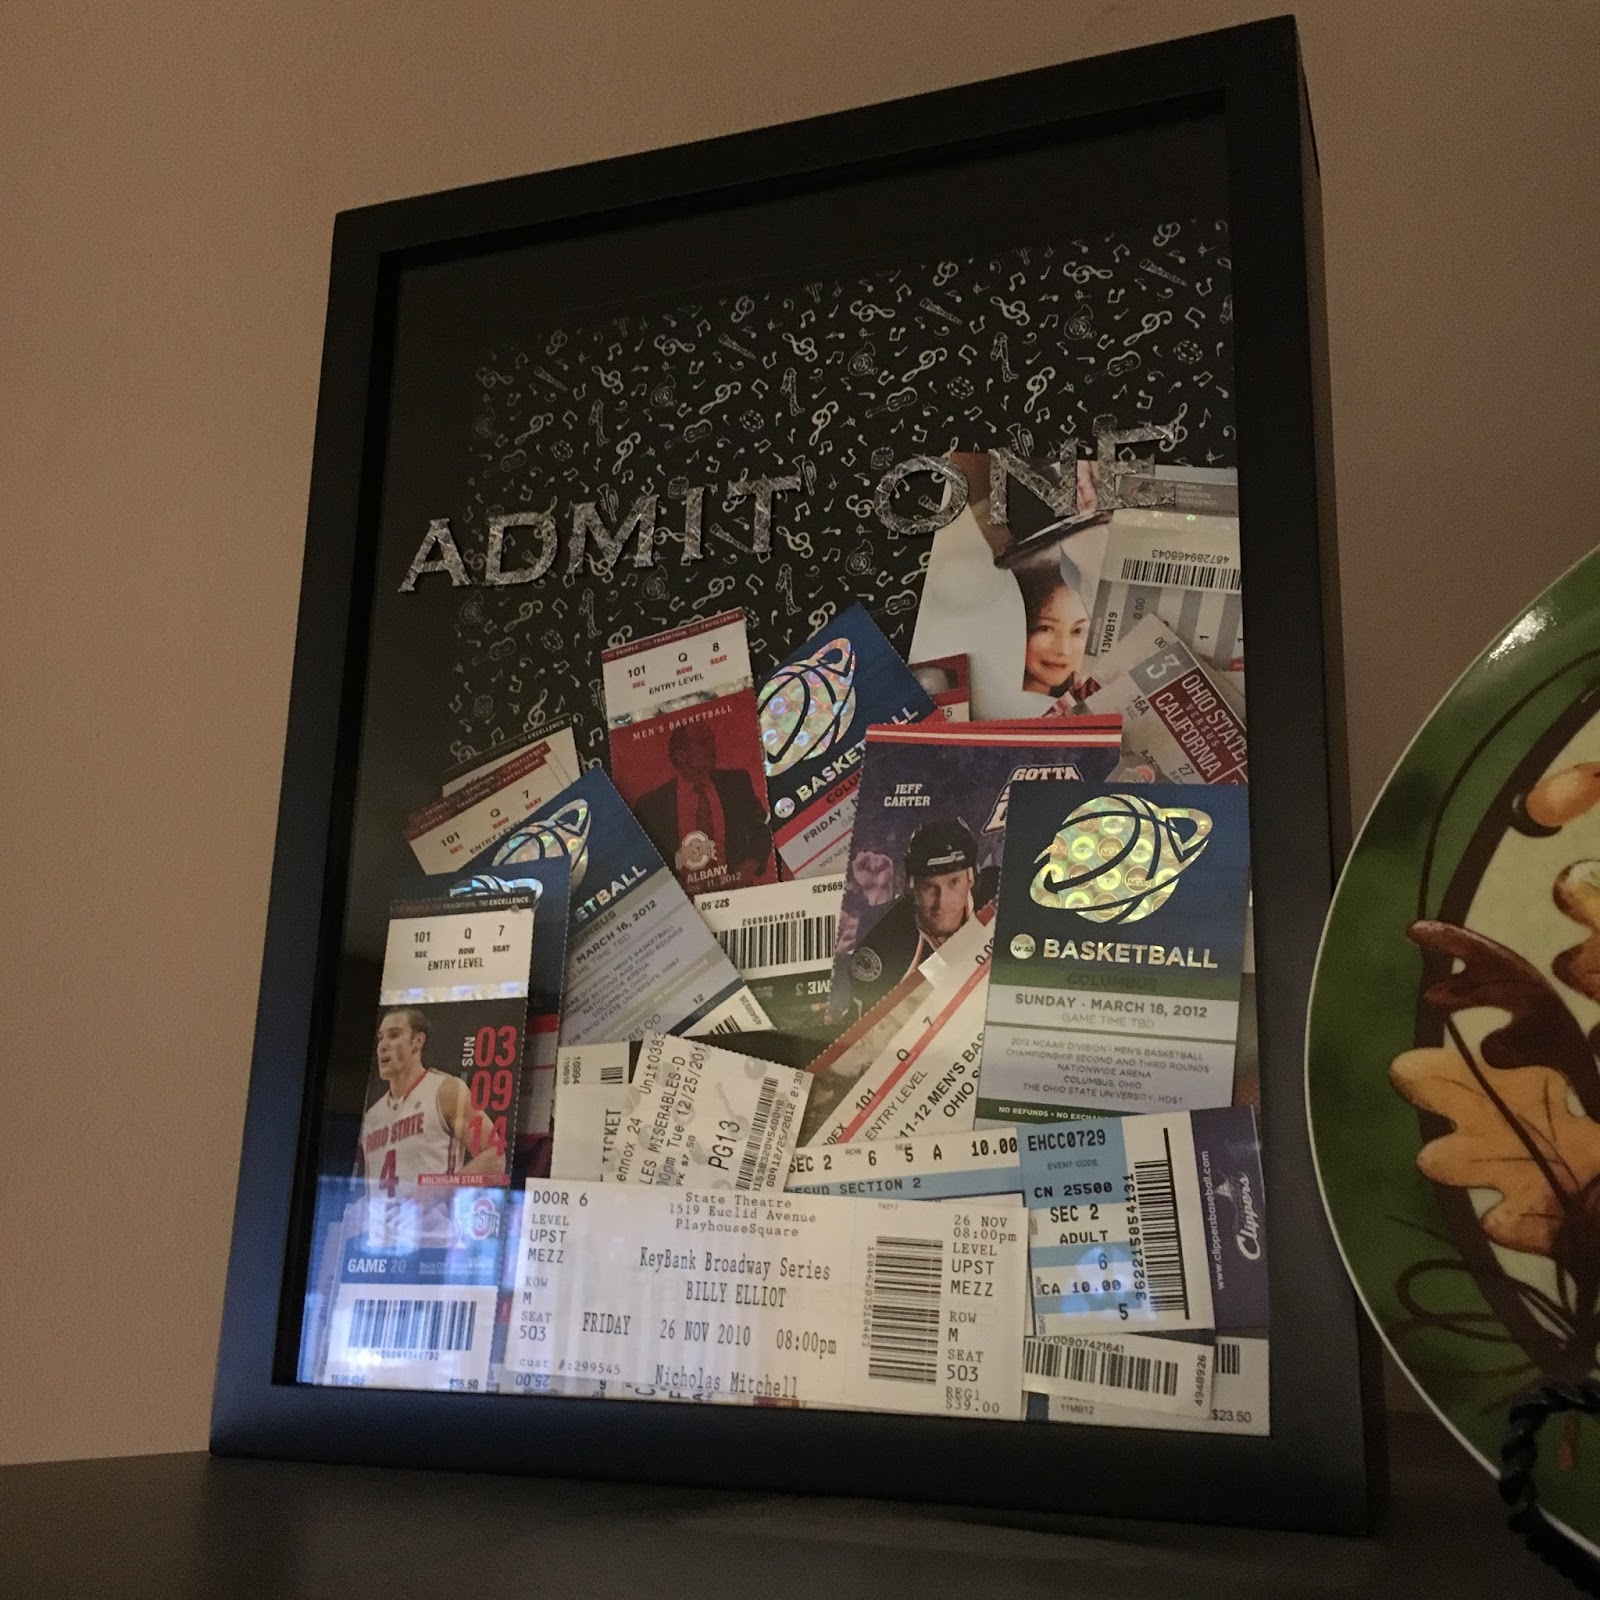
I’m so excited with how this turned out and to have these memories on display, even in a small way, instead of gathering dust and taking up desk space. Each of these tickets has a memory associated and it brings a smile to my face!
Supplies:
- Top-opening shadowbox frame (I used this one)
- adhesive letters, if you wish to include wording on the glass or on the back of the frame (I used these)
- pinking shears
- fabric remnant (the thinner the material, the easier getting it back in the frame will be)
- hot glue gun
- iron & ironing board
- ruler
- ticket stubs
