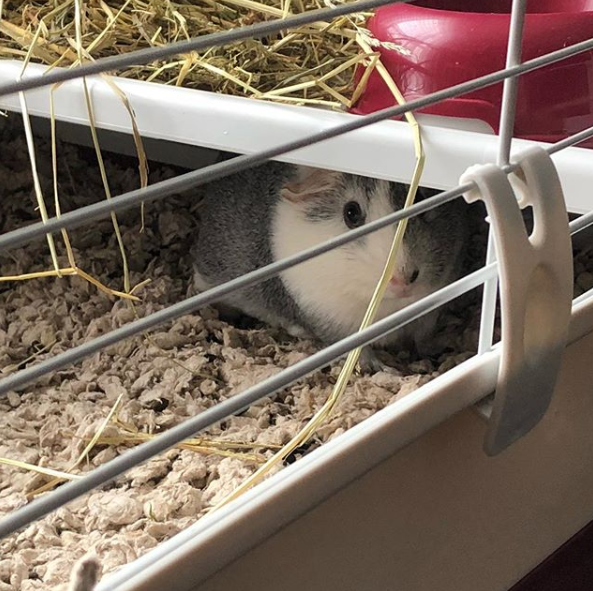
This fall, we added a guinea pig to our family. If you follow me on Instagram, you may have already noticed… Tia has been a wonderful addition and we love her!
 |
| It was love at first nuzzle. |
Almost immediately, I began looking for a less dusty, more eco-friendly way to keep her cage clean. While, yes, she does use the bathroom in the cage, I don’t have to have an extra room that smells like a bathroom. And paper bedding, while it did control the smell quite well, is hard to spot clean to pick up the 12 million ahem magic beans Tia produces on the DAILY. Seriously, I’m amazed at how much poop an animal that fits in my hands makes!
 |
| “She’s been really preoccupied with poop lately, hasn’t she?” |
We currently have a MidWest Homes for Pets Wabbitat Deluxe for Miss Tia. It’s big enough for a second piggie, if she can ever approve a roommate! She’s a little diva, that one. I can’t imagine how she picked us to come home with… ::shifty eyes::
Many people have written about the virtues of fleece bedding for guinea pigs and Tia seems to agree! It’s easier for her to run around on the fleece than the paper stuff, and she doesn’t kick it out of the cage. Win-win! When thinking about proper bedding for guinea pigs, you need something to absorb any wet messes and something with wicking properties that sits on top of the absorbent layers to keep their feet and bellies dry. After a few weeks of trial and error, we’ve found a less dusty way to deal with Tia’s living space. Bonus – it involves cute fabric! (Grabs the coupons and heads to the fabric store… “No, honey, I know I don’t need more fabric. It’s for the piggie!!”)
U-haul’s Furniture Pads are a great absorbent layer. They are made from recycled cotton (yay recycling textiles!), they are absorbent, they are inexpensive, and they can be laundered forever. IN HOT WATER. DRIED ON HIGH HEAT. TO KILL ALL THE SMELLS. I kept finding all these options that needed to be washed on cold and dried on low. How do you kill the smells and germs this way? I don’t understand… And I don’t have to now.
I pre-washed these several cycles on HOT/HOT with vinegar to get the manufacturing oils and smell out of them, BEFORE CUTTING. They did shrink some (as was expected), so I didn’t plan my cutting until AFTER I was confident they were fully preshrunk. They shed lint like crazy, so be sure to thoroughly clean your dryer’s lint trap before and after (and possibly during) every cycle.
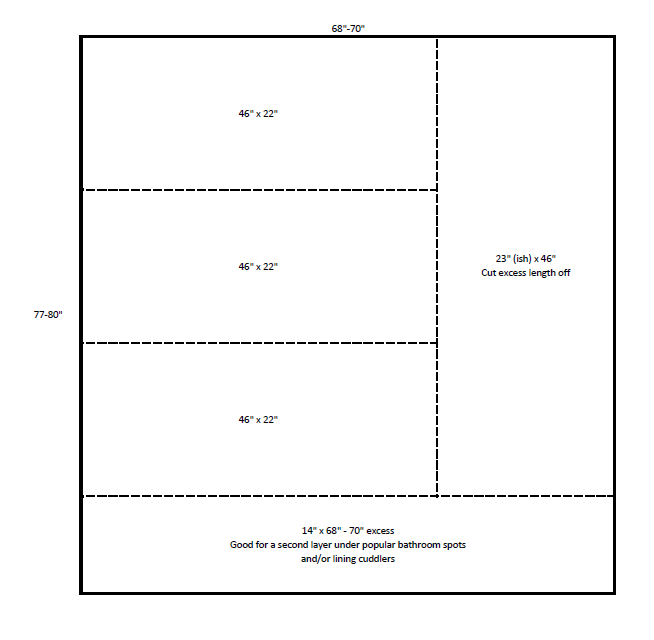
Each furniture pad starts out 68″ x 85″ (per the package), before washing. Ours stretched/shrunk to around 70″ x 75″ after. I don’t understand it either, but there it is. Cotton. shrugs
The bottom tray for our cage is 45″ x 21″. (Be sure to measure the dimensions INSIDE the cage, not just go with the dimensions on the box – those are exterior and you will end up with inaccurate cuts.) I decided to cut with 1″ extra fabric on both dimensions to account for future shrinkage. With a little planning, I was able to get 4 tray liners out of one furniture pad, with some left over fabric for other projects. Here is the cut chart we followed, cutting on the dotted lines.

The base layer of her bedding is now several layers of the Uhaul pads (about 1/8″ thick each), topped with some adorable fleece fabric that had also been pre-washed.
Fleece fabric isn’t prohibitively expensive, and the best way to buy fleece yardage is in the form of no-sew fleece kits. They are especially affordable right now, because they are popular Christmas gifts and regularly go on sale 50% (or more!) off in the fall. Big box stores ALWAYS have coupons, so double up when you can! Each kit has 2 pieces of fabric and is plenty enough to get 2 cage liners, plus excess fabric – that’s already color coordinated!! – for piggie cozies or pouches.
The fleece I purchased is around 48″ x 60″. I wanted a final cut around 27″ x 60″, so the fleece will wrap around and under the Uhaul pads. To cut, find the long side and bring the long sides together. Then measure 27″ from the edge and cut from the fold across. This yields a piece of fleece long enough to fold under all edges and pin the overlapping flaps together, wrapping the Uhaul pads away from burrowing, inquisitive piggies. I used stainless steel diaper pins to secure the fleece (hopefully they won’t rust as quickly) and if needed, the fleece can be pinned to the underside of the cotton pads as well.
Cage assembly is a breeze now! I pin the fleece around the cotton pads, lay the corners in place, reassemble the kitchen area shelf, and voila! Done!
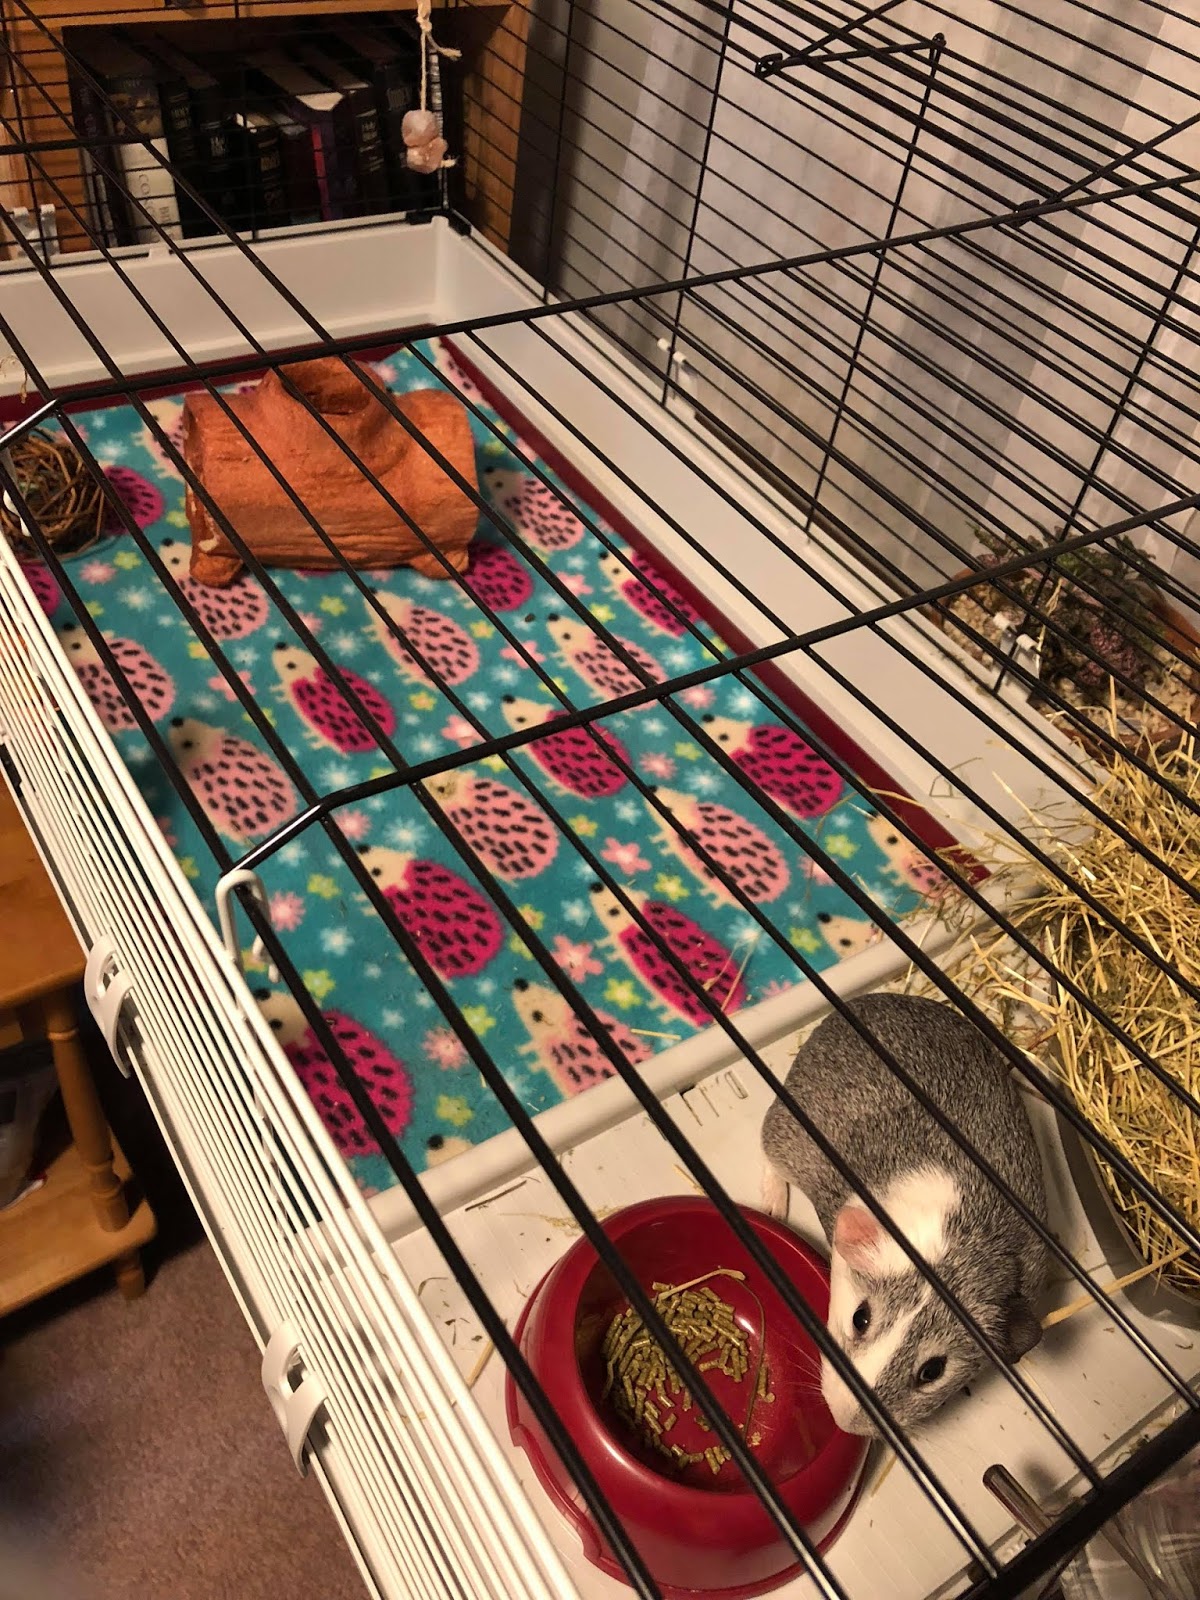 |
| I know she’s not a hedgehog, but thought she might like some rodent company in her big cage all by herself. Also, who can resist happy pink hedgehogs and flowers? |
Every few days, I use a little whisk broom and dustpan like this one to clean up the solid waste. I also clean out the litter box that holds hay, etc. and wipe down with a 50/50 vinegar/water solution.
On total cage cleaning days, I remove the pigloo and toys, sweep up solid waste, pull out the lining and take it outside to brush the hay bits and guinea pig hair off. Next, it goes in the washer on hot! While it’s washing, I spray down all the hard surfaces with the vinegar solution and wipe out. Then reassemble the cage as above.
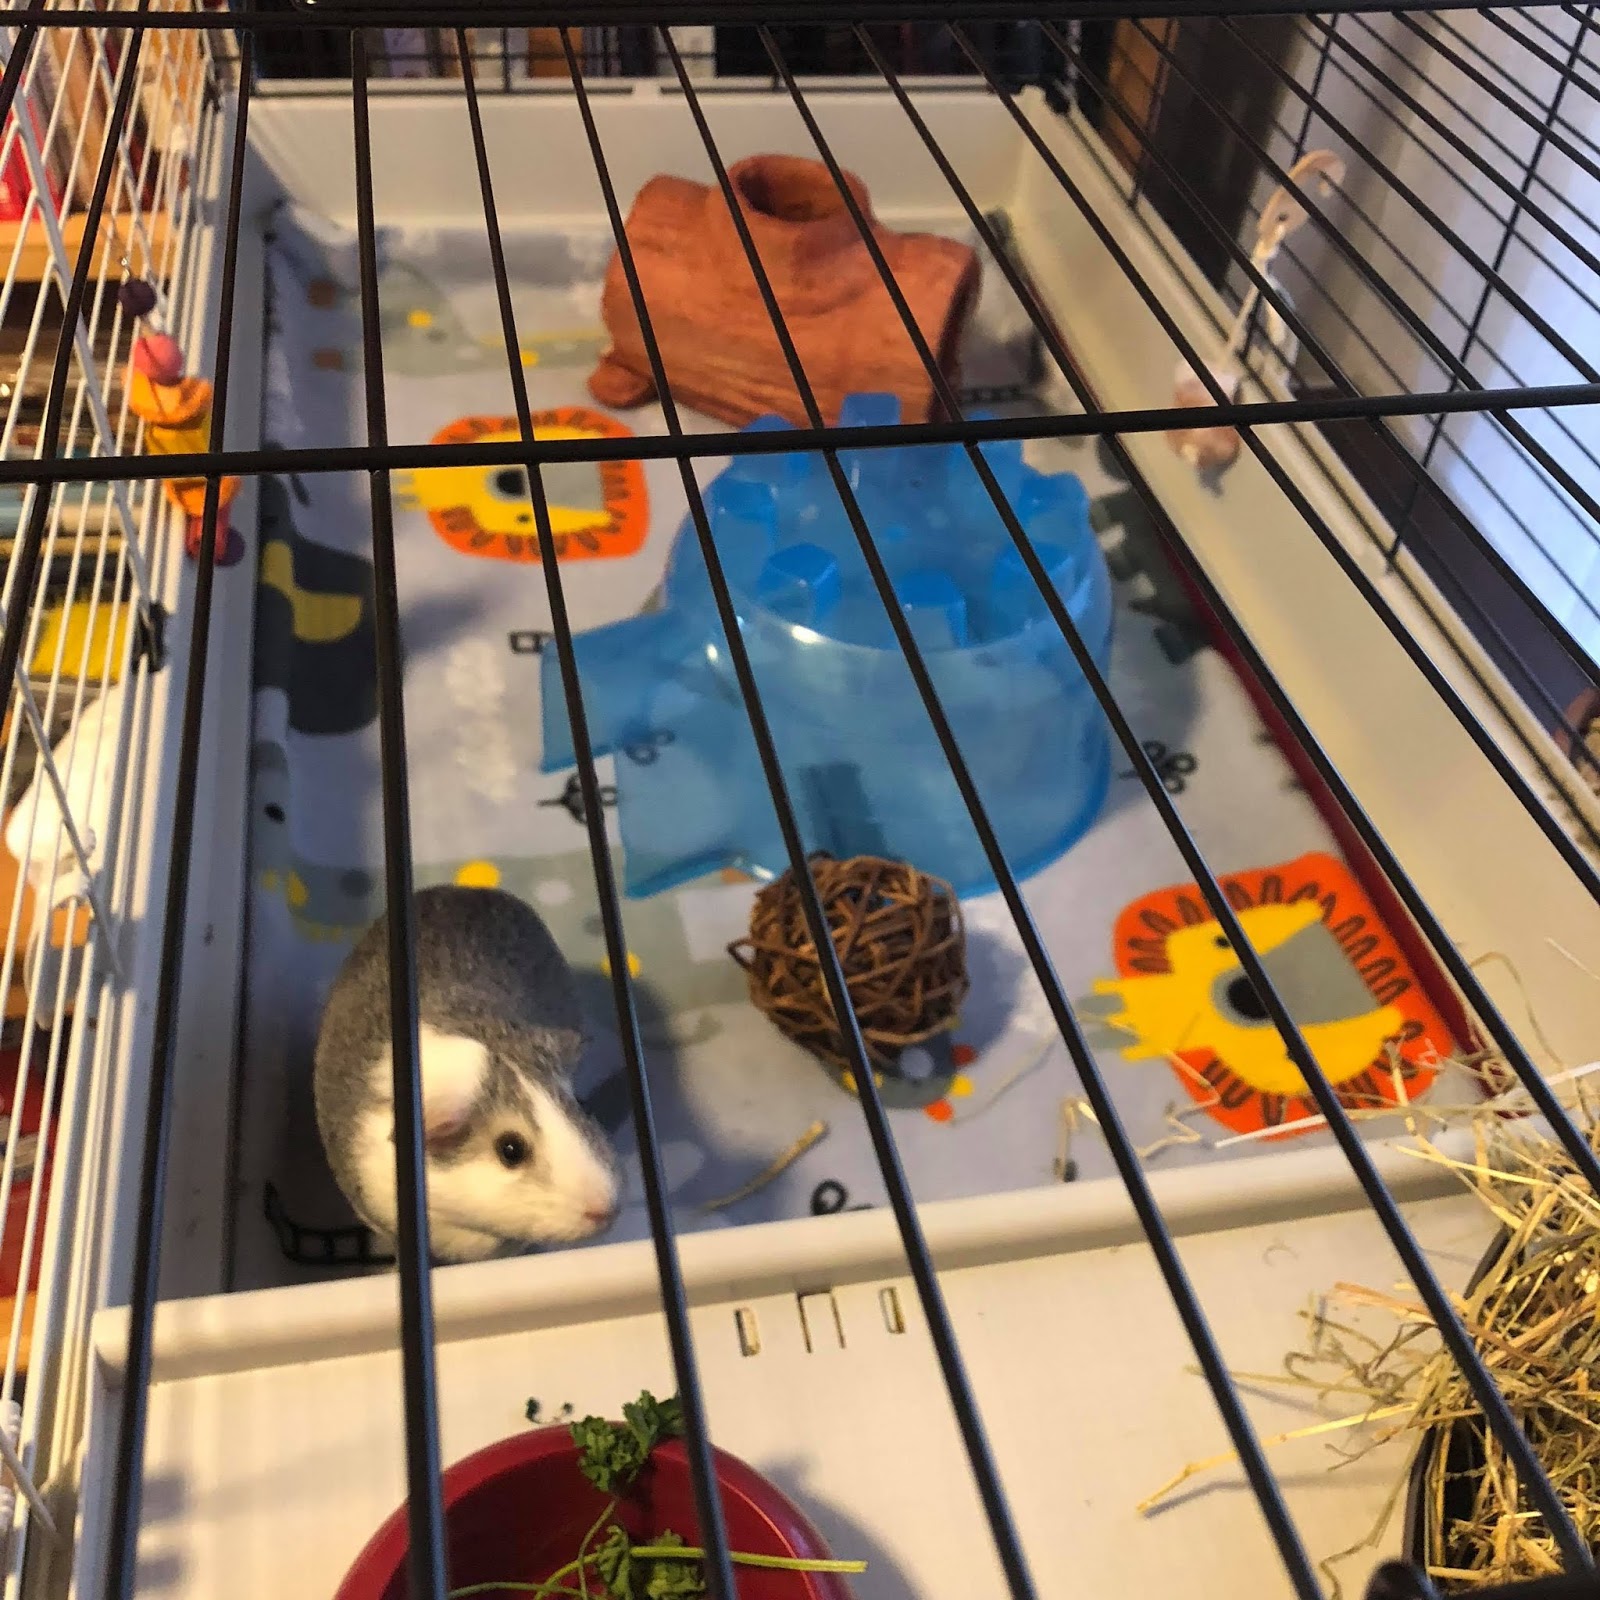 |
| Tia always likes to explore her freshly cleaned cage. |
Less dust, less mess, less trash, quick & easy to change, more popcorns – everyone is happier!
P.S. – Great info on fleece bedding and how to prepare it is available from the Cali Cavy Collective.
P.P.S – There are pros and cons to this type of bedding – a little Googling will turn up lots of discussion on this topic.
