Update, 1/8/21: Now available as a PDF as well! Handspun Cowl Recipe
For me, spinning is meditation that also makes yarn. Everything about spinning is restorative! There’s nothing better than sitting down at my wheel with a braid of beautiful hand-painted fiber in my hand and letting yarn happen. My favorite way of spinning hand-painted fiber is to spin the braid end-to-end and then chain-plying it to keep the colors together. Unless the wool wants to be something different, my default single is a heavy lace/light fingering weight, which results in a chain-plyed finished yarn of a DK/light worsted/worsted weight 3-ply yarn. Nice and round and perfect for knitting.
As you can imagine, I’ve begun to accumulate quite a few skeins of this default chain-plyed, 3-ply, color-pooling or nearly self-striping handspun. Resolved to stop saving handspun for when the Queen comes to call, I have started grabbing these skeins, hand-winding them, and using this cowl as my run-out-the-door, don’t-need-to-think-about-it, but-need-knitting-in-my-hands go-to project. Perfect for meetings or the movies or a waiting room, this is easily knit in the dark.
P.S. You can totally learn to knit in the dark! Start with a few stitches for practice at home, with your eyes closed, and using a larger yarn – like DK or worsted. In a few minutes, you’ll realize your muscle memory knows what to do!
Now that I’ve knit 3 of them, I decided I should keep track of them and the ‘improvised pattern’ option in Ravelry won’t help me do that. So, without further comment, I present my Handspun Cowl Recipe. (Link yours on Ravelry here!)
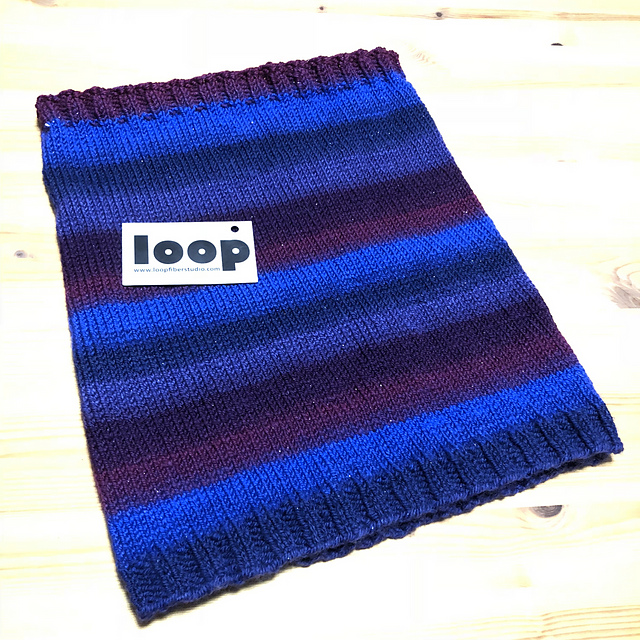 |
| Perfect for those tempting self-striping bumps from Loop! |
Handspun Cowl Recipe
Materials:
- ~100 grams of worsted weight handspun yarn
- US 7 4.5 mm 16″ circular needle
- US 9 5.5 mm needle (for bind off only – a DPN or needle tip will suffice)
- stitch marker
- digital scale
- yarn needle
- 5 sts per 1″
- Weigh your ball of yarn. Make a note of this amount on your project page! Sticky notes like to go walkabout, IYKWIM.
- Using a long tail cast on and your smaller needle, cast on 124 sts for a closer to the neck, but long enough to pull up over your ears snood OR 132 sts for a looser, warm cowl to pile about your neck.
- Place stitch marker and join for working in the round. Be sure not to twist your cast on edge!
- Knit 2×2 ribbing (k2, p2) for 8 rounds ( ~1″).
- Weigh your ball of yarn again. Subtract this from your original weight; the difference is how much you need to reserve for the other end’s ribbing and bind off. This is your magic number.
For example, if you started with 100 grams and after your ribbing was knit you had 88 grams, this means you need to reserve at least 12 grams for your ribbing and bind off at the end of your cowl. 12 would be your magic number. - Knit in stockinette stitch until your yarn weighs nearly your magic number, but not less than!
- At the beginning of the next round, knit 2×2 ribbing for 7 rounds.
- Cast off loosely in pattern using the larger needle.
- Weave in ends using the yarn needle.
- Wash gently, squeeze out excess water (Do Not Twist!), and lay gently into shape to block.
Choose a needle size that will give you a substantial, but not firm or stiff fabric. To choose a needle size for handspun, I usually draw up a loop through my needle sizing tool. If the yarn hangs limp or loosely in the needle sizing hole, go down a needle size. If the loop doesn’t easily slide through, go up. The ideal needle size will allow you to slide the loop up through the hole and comfortably stay there, without flopping or forcing it.
Cast on a number of stitches divisible by 4 that overfills your 16″ needle or do a little guesstimated gauge math to get the perfect stitch count for your handspun.
